From the Heart: Behind the Art
“Discover the heart behind our handmade creations, tips for home décor, and stories that inspire. From custom clocks to unique frames, each post shares ideas and creativity to brighten your world.”
Jeanette Jordan
8/11/20252 min read
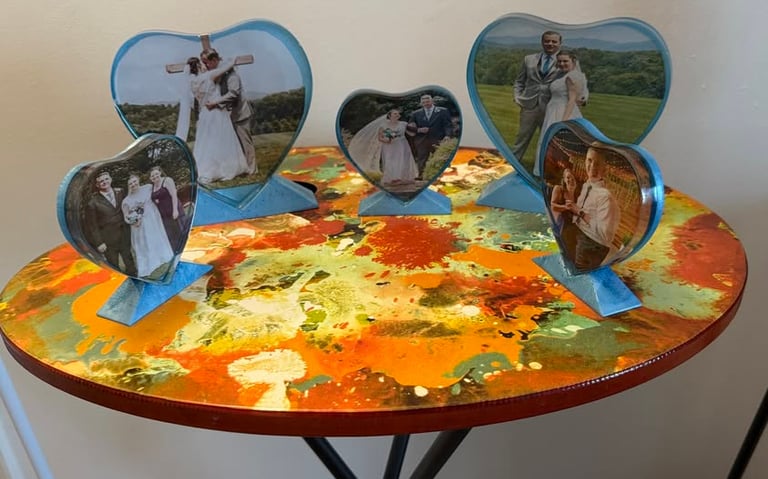
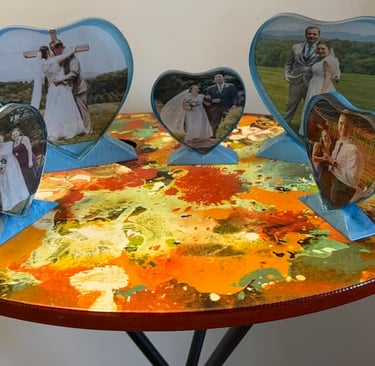
How to Make a Custom Heart Frame
How to make the heart frames. I have also made several videos for you to watch on the Creative Spirit Channel. I will add the link.
1. Go buy the Heart frame with stand Mold or make it yourself.
2. Pick the photograph that you want to use, Measure it. Print the picture, then laminate the picture. Resin destroys pictures that are printed
3. the heart take approximately 300mg of Resin, but your going to work it at 100mg at a time depending on the design you want to use.
4. pick the colors you want to use. remember no lettering or pictures will be seen unless you buy translucent colors in your heart. but pearl colors or matted colors will not be seen.
5. the first 100mg color your back ground let dry for one full day.
6. add picture to heart. glue the back of picture so it will not lift up from the back when you add your second 100mg of resin
7. Add your last 100mg of clear resin to picture. if you see bubbles use a heat gun to disappear bubbles. next 80mg complete and decorate the stand in the mold. after that let stand for 24 hours and peel your mold and you have a great custom heart frame.
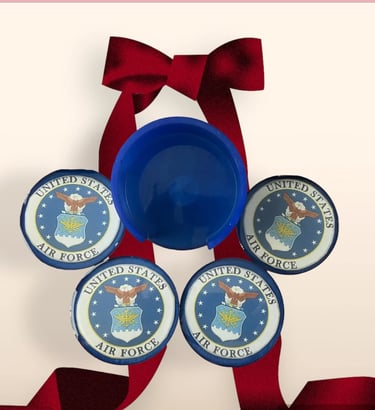
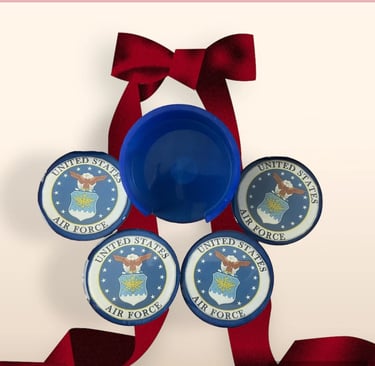
“How I Create My Custom Coasters from Start to Finish”
go to Amazon and buy the coaster molds or make your own. you can get this on Amazon. Great Handmade Gifts, Personalized Home decor, Custom Resin art. The Picture below is my Custom made coasters. since I am a veteran-owned handmade shop. I created these for all of my branches. This is how I create my custom coasters from start to finish.
select pictures that are the size of your coasters, print them and laminate them, this prevents the resin from deleting your picture.
After you laminate them cut them to size.
use your resin and pour a clear resin 100 mil in the coaster molds, take the laminated pictures and put on after the resin and push them down. wait for the resin bubbles to afloat.
use heat gun to clear the rest of the bubbles from resin
let dry for 24 hours for best results
next day make resin again 100 mil , this time pick your color and color your resin and pour into the coasters again,
let dry for 24 hours
peel resin coasters from molds and they are done.
Creations of The Heart Art
You Dream It, I Make It...
Artist / Owner
Veteran-owned
Jeanettet@www.creationsoftheheartart.com
1-574-213-5176
© 2025. All rights reserved.